The third step is installation:
1. Unpack the tile and recalculate whether there are enough tiles for laying out the panels.
2. Lay out the mirror tiles on a flat horizontal surface. We recommend doing this taking into account the gaps of 0.5 - 1 mm. You can use any plastic card to hold the gaps.
3. Mark the surface on the wall. Even experienced craftsmen do not neglect markup, and if you are doing this for the first time, then markup is simply mandatory for you.
4. If you lay out a mirror tile on the entire wall or a column from floor to ceiling, then start from the far corner and move up from the bottom. If the decor will decorate only part of the wall, then you can start from the middle of the bottom row of panels to get symmetrical. But the installation always goes in the direction from the floor to the ceiling.
5. Use a gun to apply specialized glue for mirrors on the tile or on the wall. We do not recommend using cement-based glue, universal sealants and other non-specialized materials. The tile sheet is carefully applied and pressed against the wall without excessive pressure, observing the markings. The rest of the tiles are glued in the same way.
6. Take breaks between the installation of adjacent rows in 10-15 minutes. So the glue will harden, and you can check if the tile has slipped. Also, in order to avoid sliding tiles, it is additionally recommended to use double-sided tape. Masking tape will help you to fasten the tiles together to maintain their position during the hardening of the glue.
7. If you install mirror tiles in damp rooms, you should carefully seal the seams.
8. Installation is carried out at a temperature of +10 to +40 degrees.


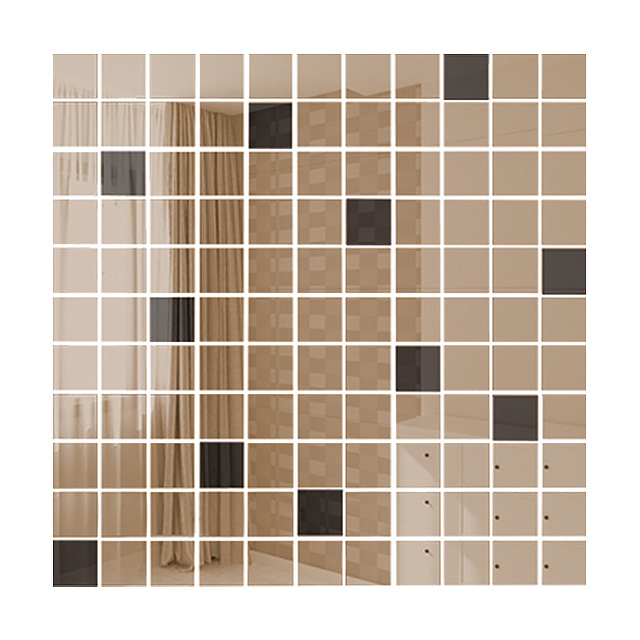
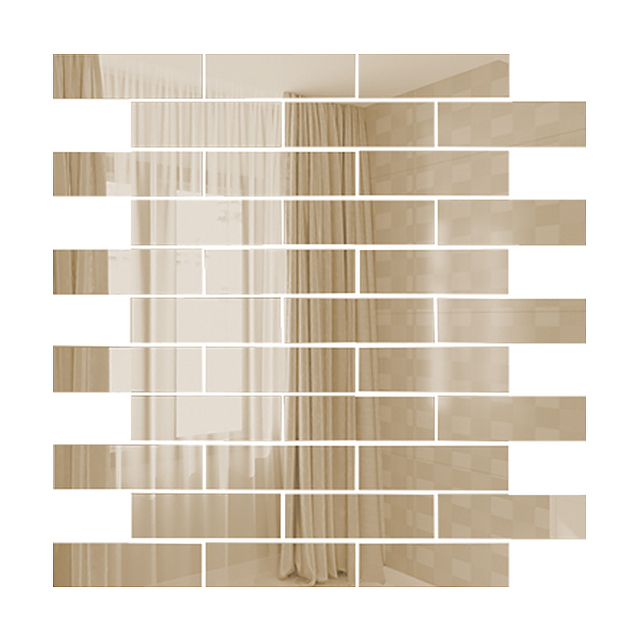
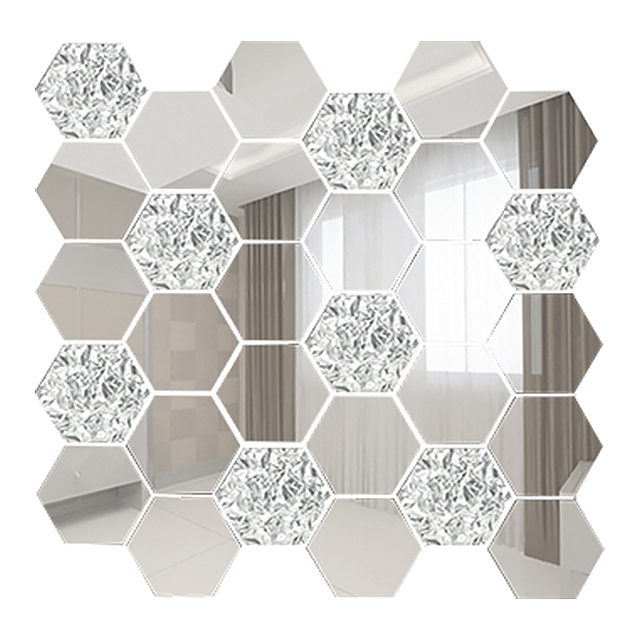
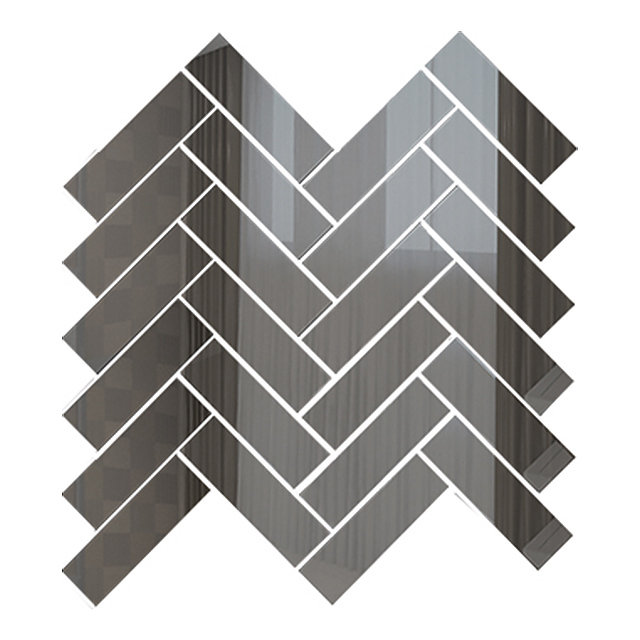
 Mirror Tile
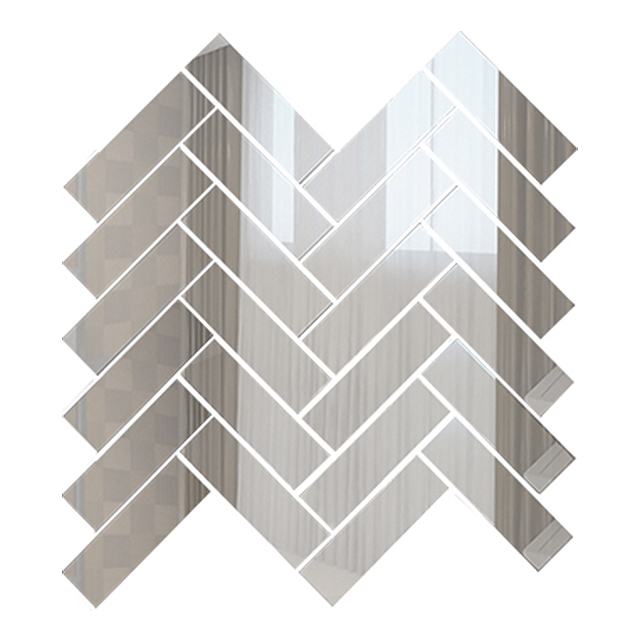
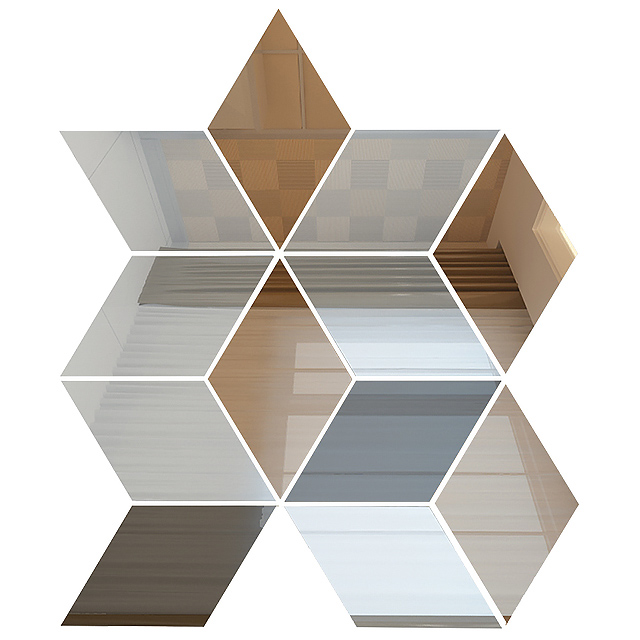
 Mirror Mosaic
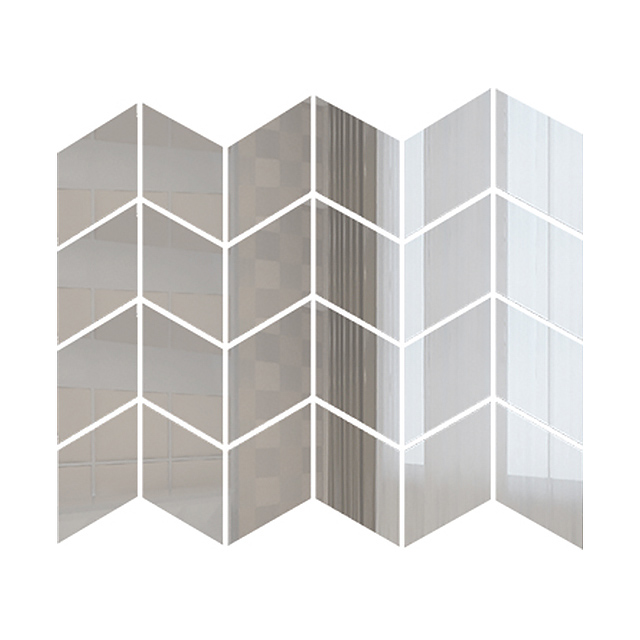
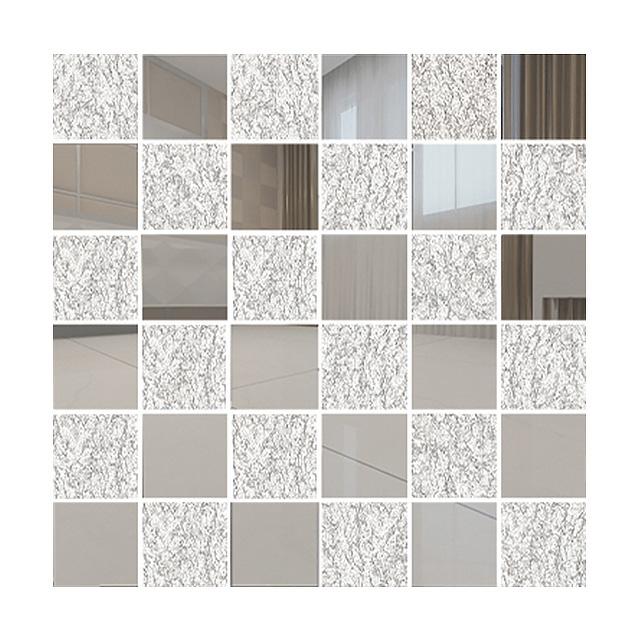
 Glass mosaic
 TILE CALCULATOR